The art or practice of taking and processing photographs
Understanding composition is something that every photographer should take time to do. Without the need to invest in any expensive equipment, appreciating the elements of good composition will undoubtedly enhance your photographic work. Developing your photographic eye is something that comes naturally to some, but for others, it takes time and effort to hone you visual skills and abilities as a photographer.
If you have time, find an occasion to head out and practice some of these skills, and definitely try and keep these in mind next time your out on a shoot, it might make the difference between taking a good shot and a great shot.
In the Photography Booklet I have outlined various composition techniques that you can practice.
Composition
First of all we have to define what is meant by ‘composition’. Composition refers to the way the various elements in a scene are arranged within the frame. These are not hard and fast rules but guidelines. That said, many of them have been used in art for thousands of years and they really do help achieve more attractive compositions. I find that I usually have one or more of these guidelines in the back of my mind as I’m setting up a shot.
Here are some composition techniques applied to photography:
Rule of thirds / Leading Lines / Symmetry & Patterns / Viewpoint / Depth of field / Off centre / Framing / Cropping / Negative space / Colour & Shapes / Landscape / Layering / Angle
Rule of Thirds

Leading Lines

Depth Of Field

Symmetry & Patterns

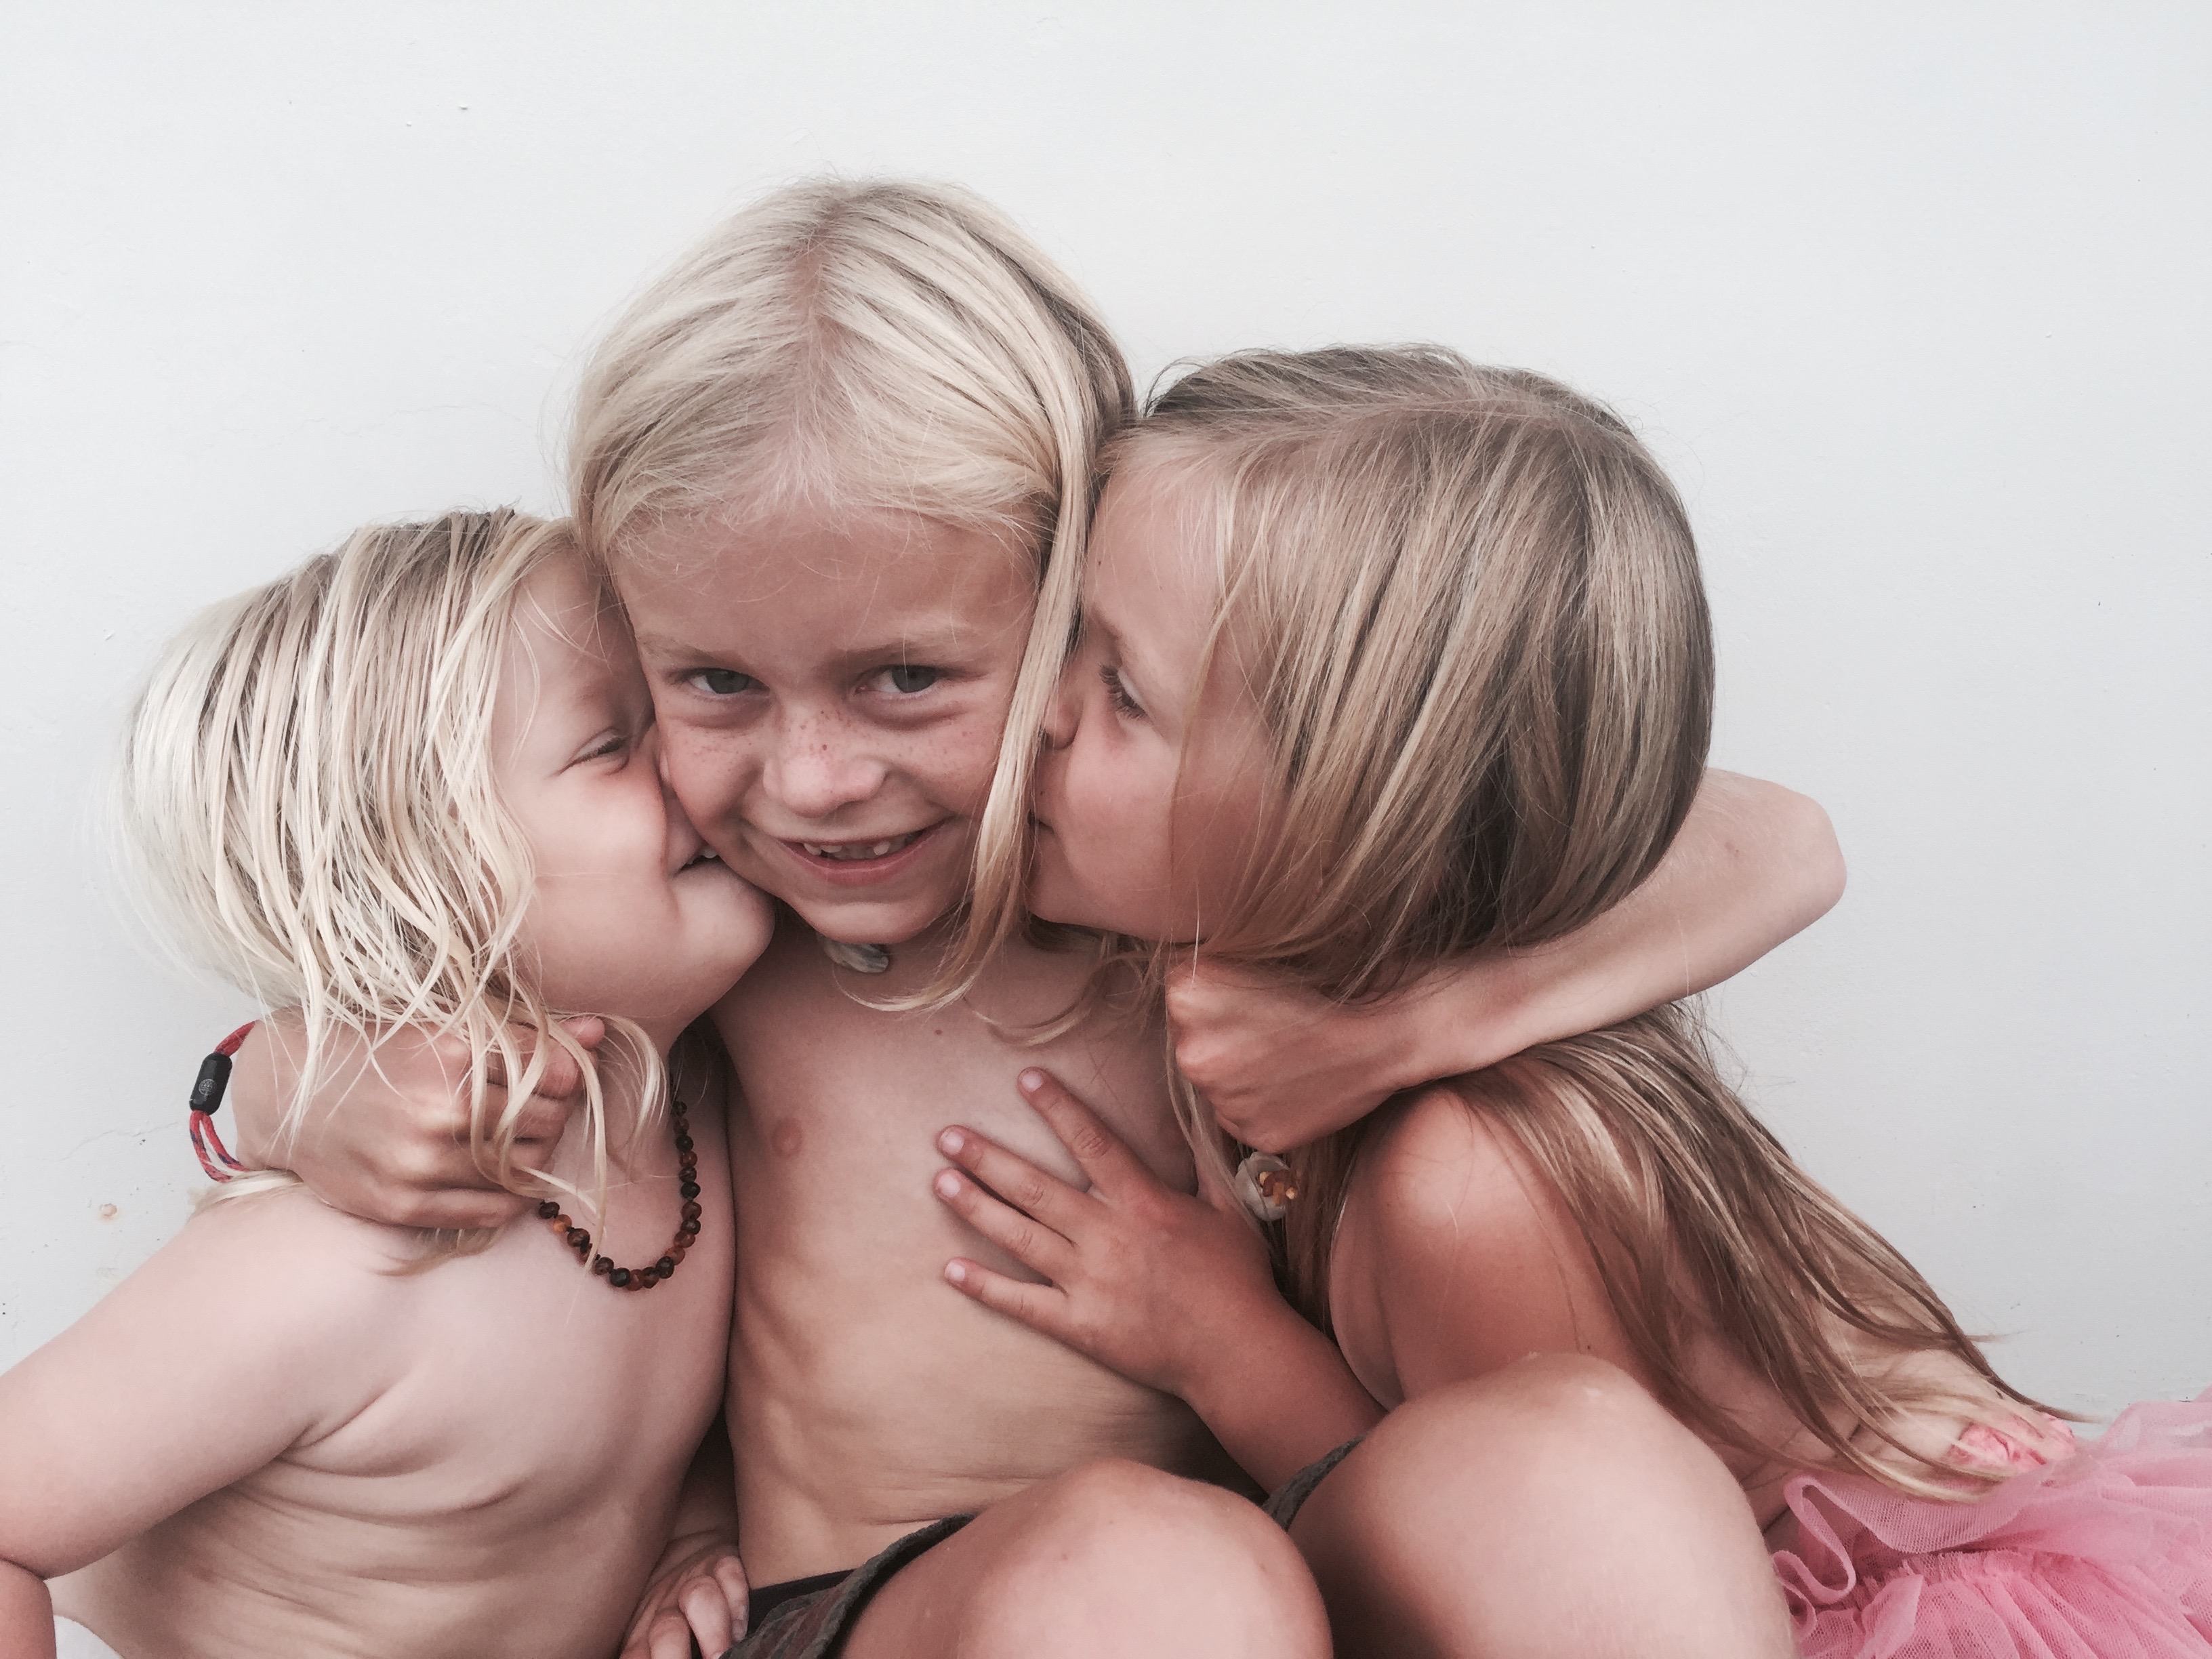
Cropping

Negative Space

Framing

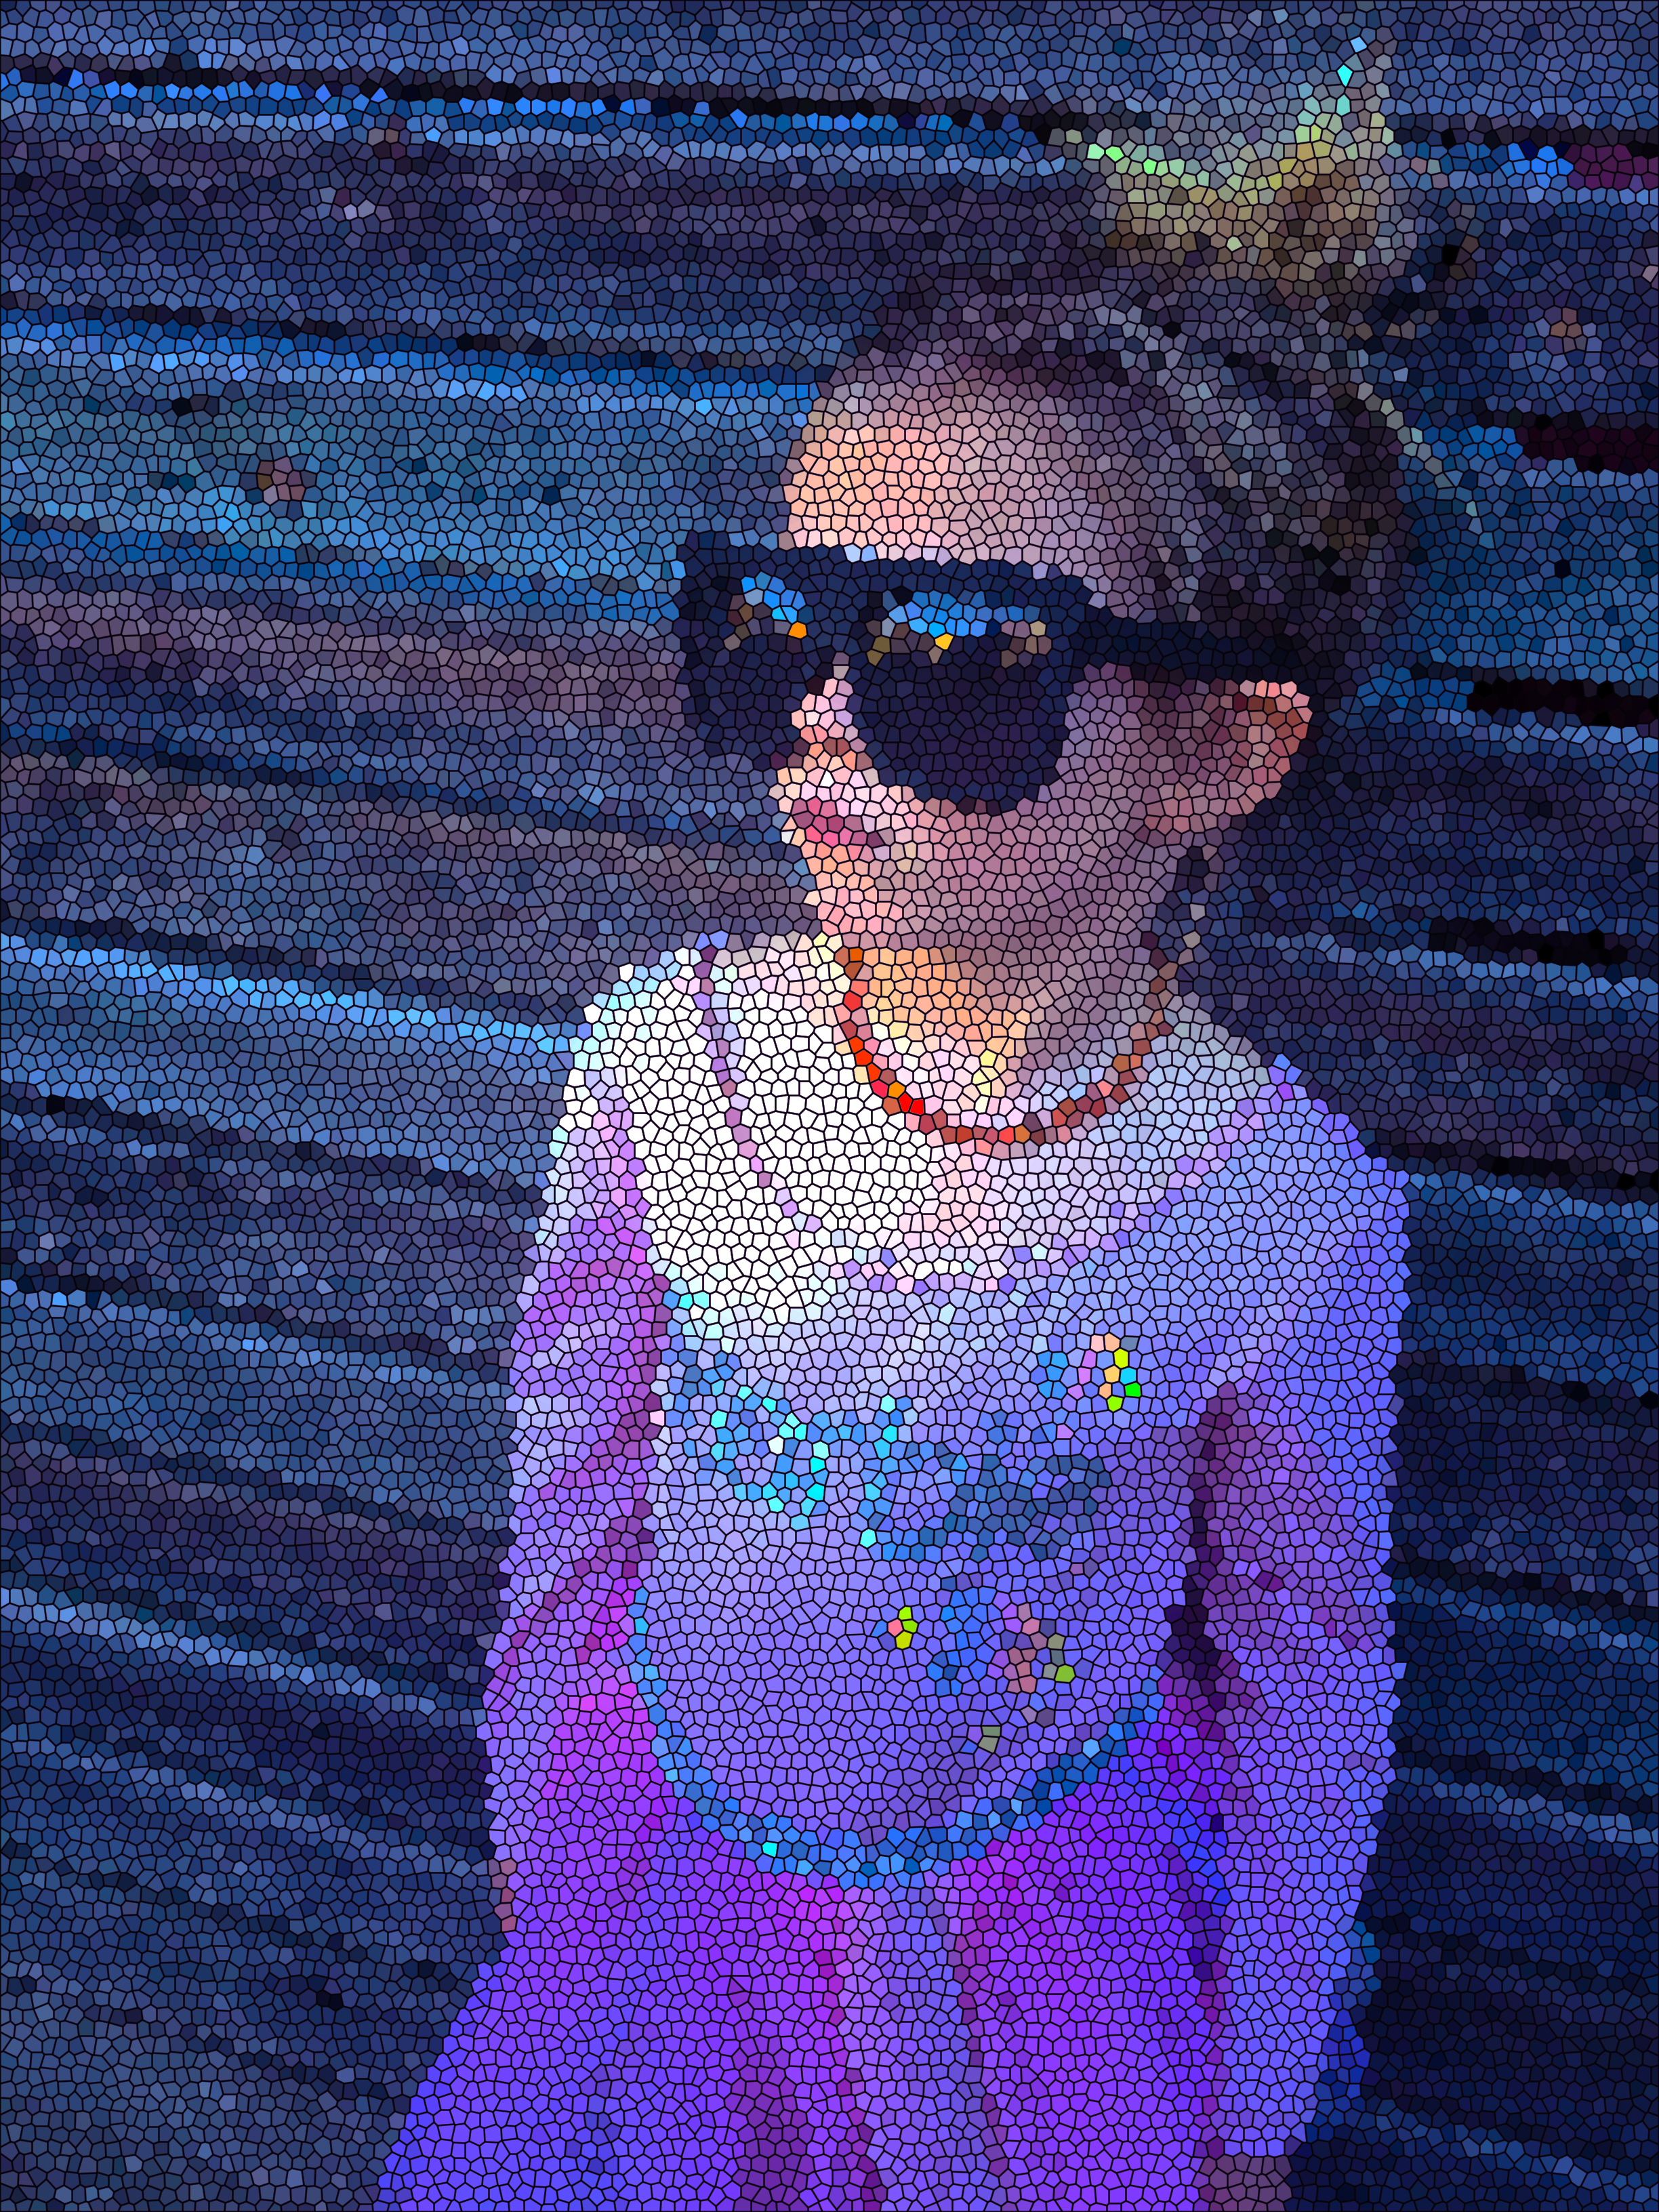
Colour & Shapes

Contrast

Angle

When to use a LIGHT BOX
Close-up photography of detailed objects requires good lighting, and a lightbox is a great solution. It provides light diffusion and a uniform background against which to place the object. ... You can then use flashes, desk lamps, and other light sources to create the desired lighting effect.

Lightbox Black background

Lightbox White background

No Lightbox no background

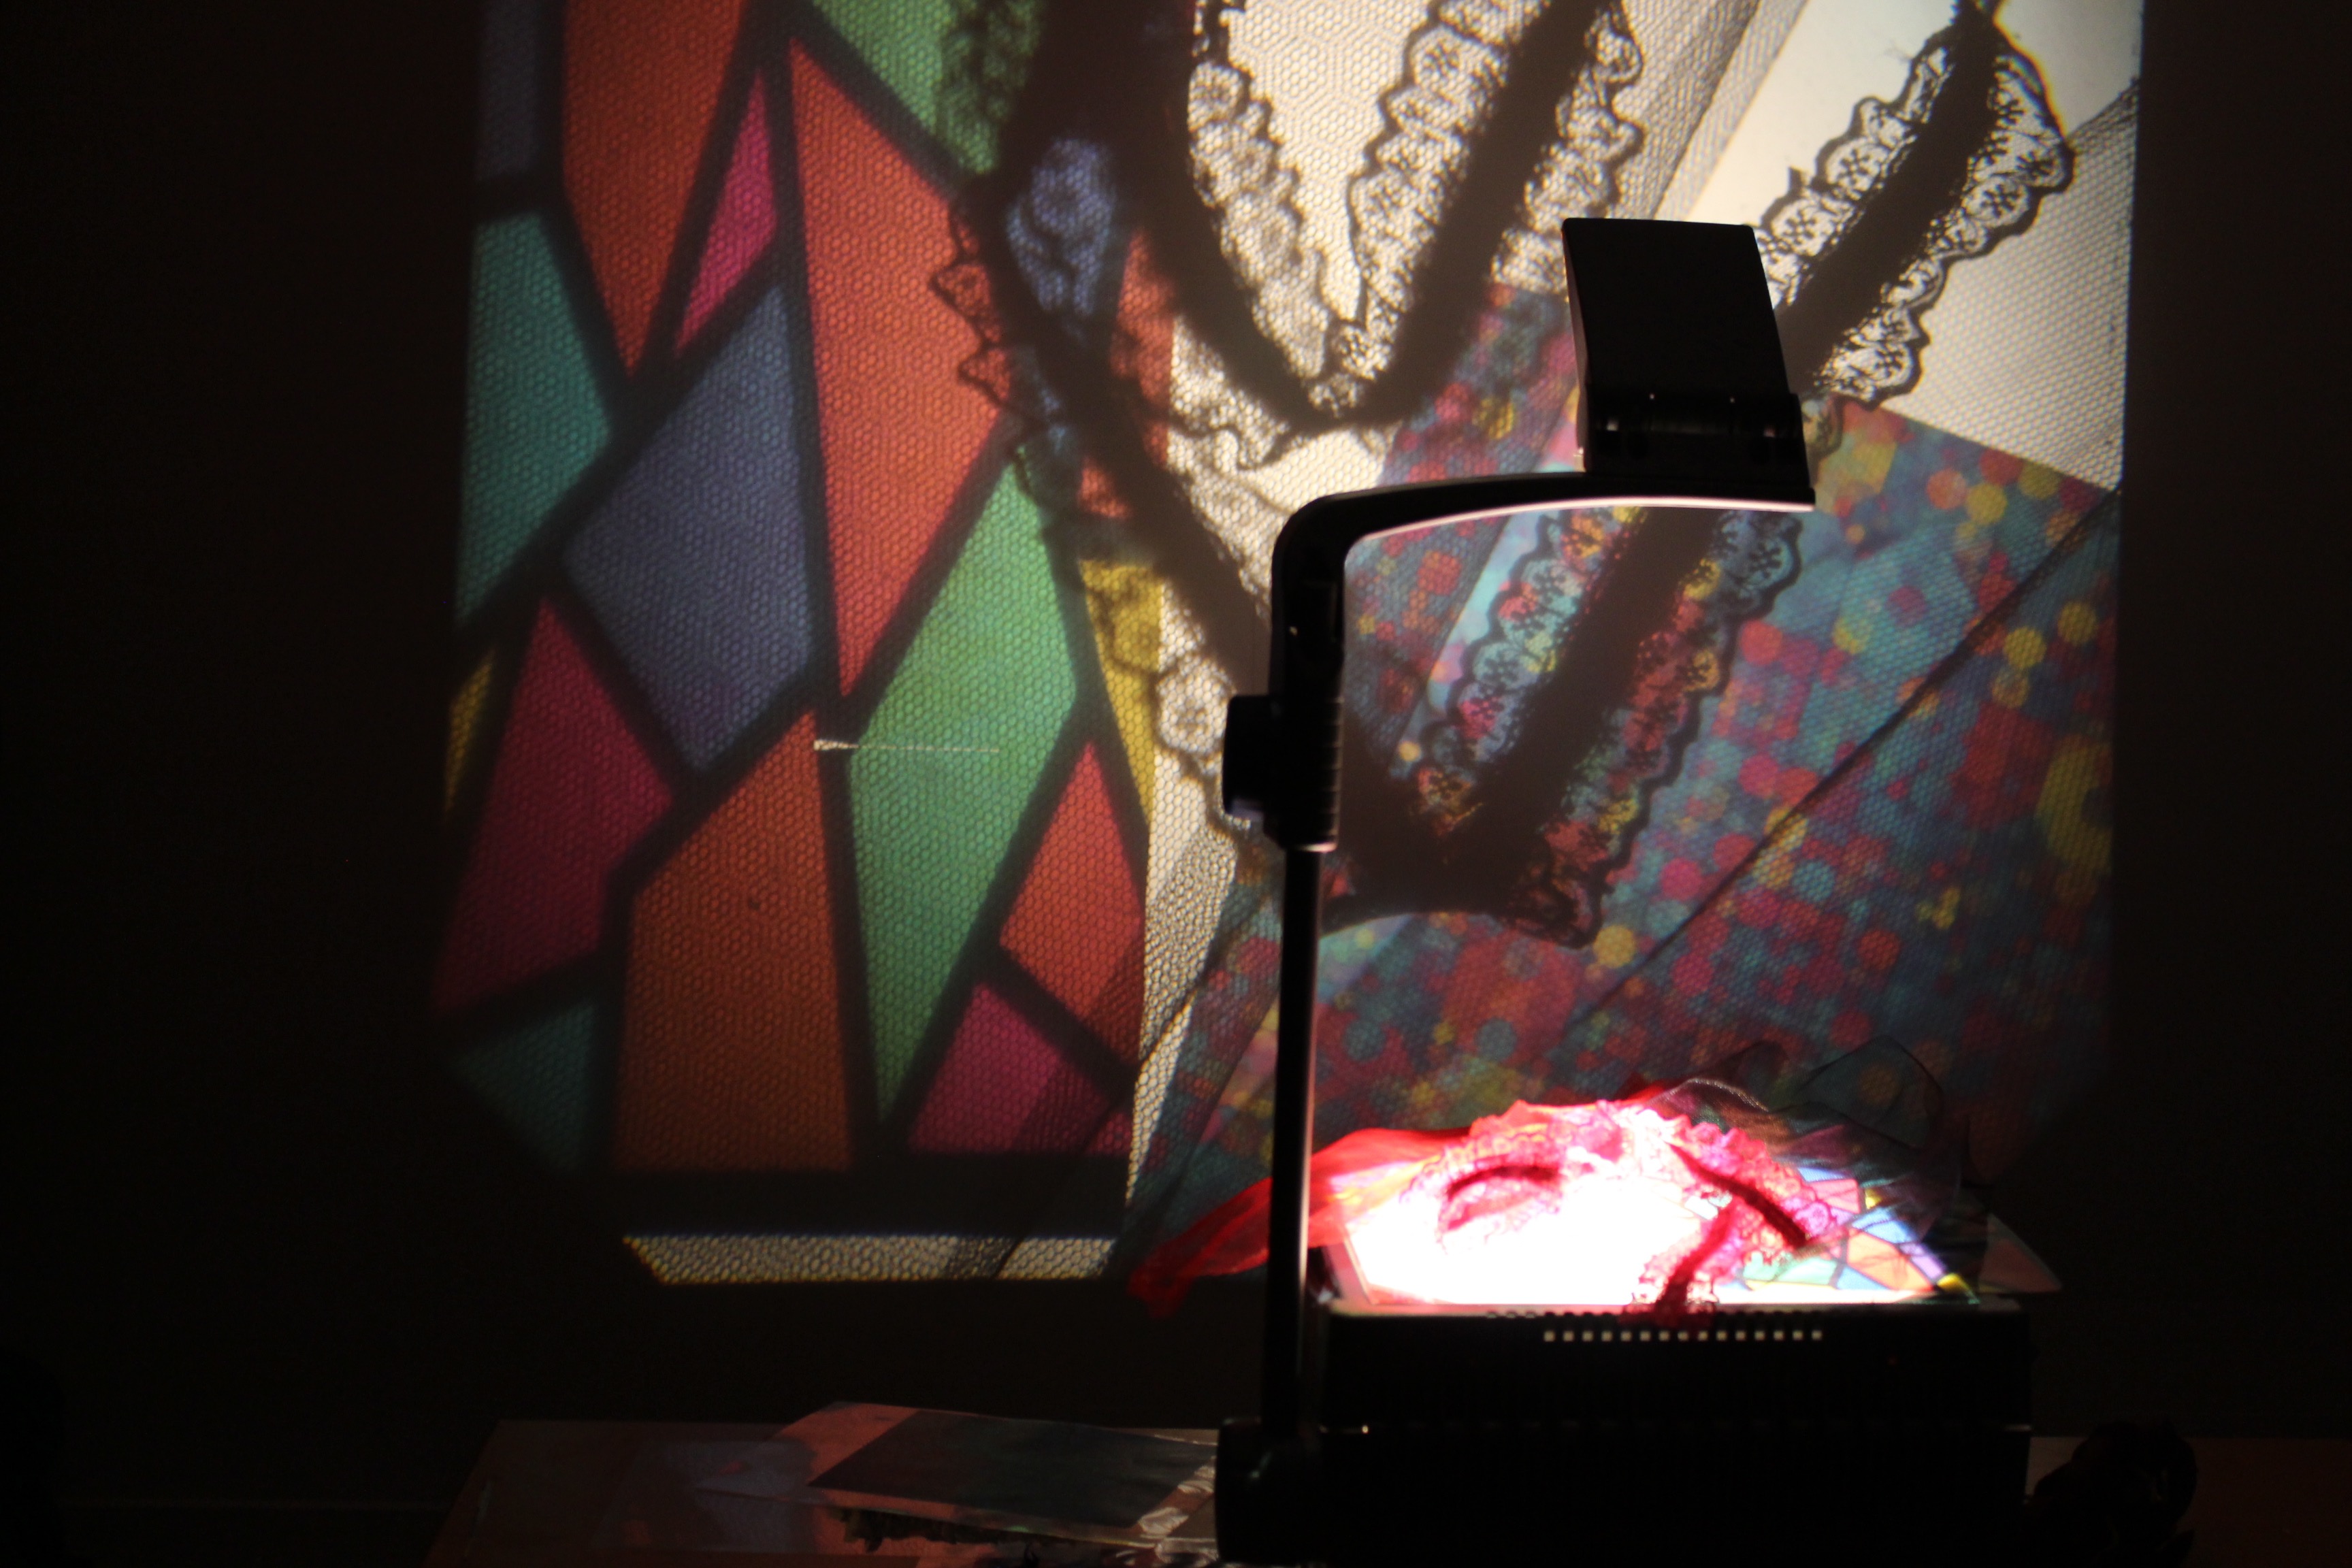
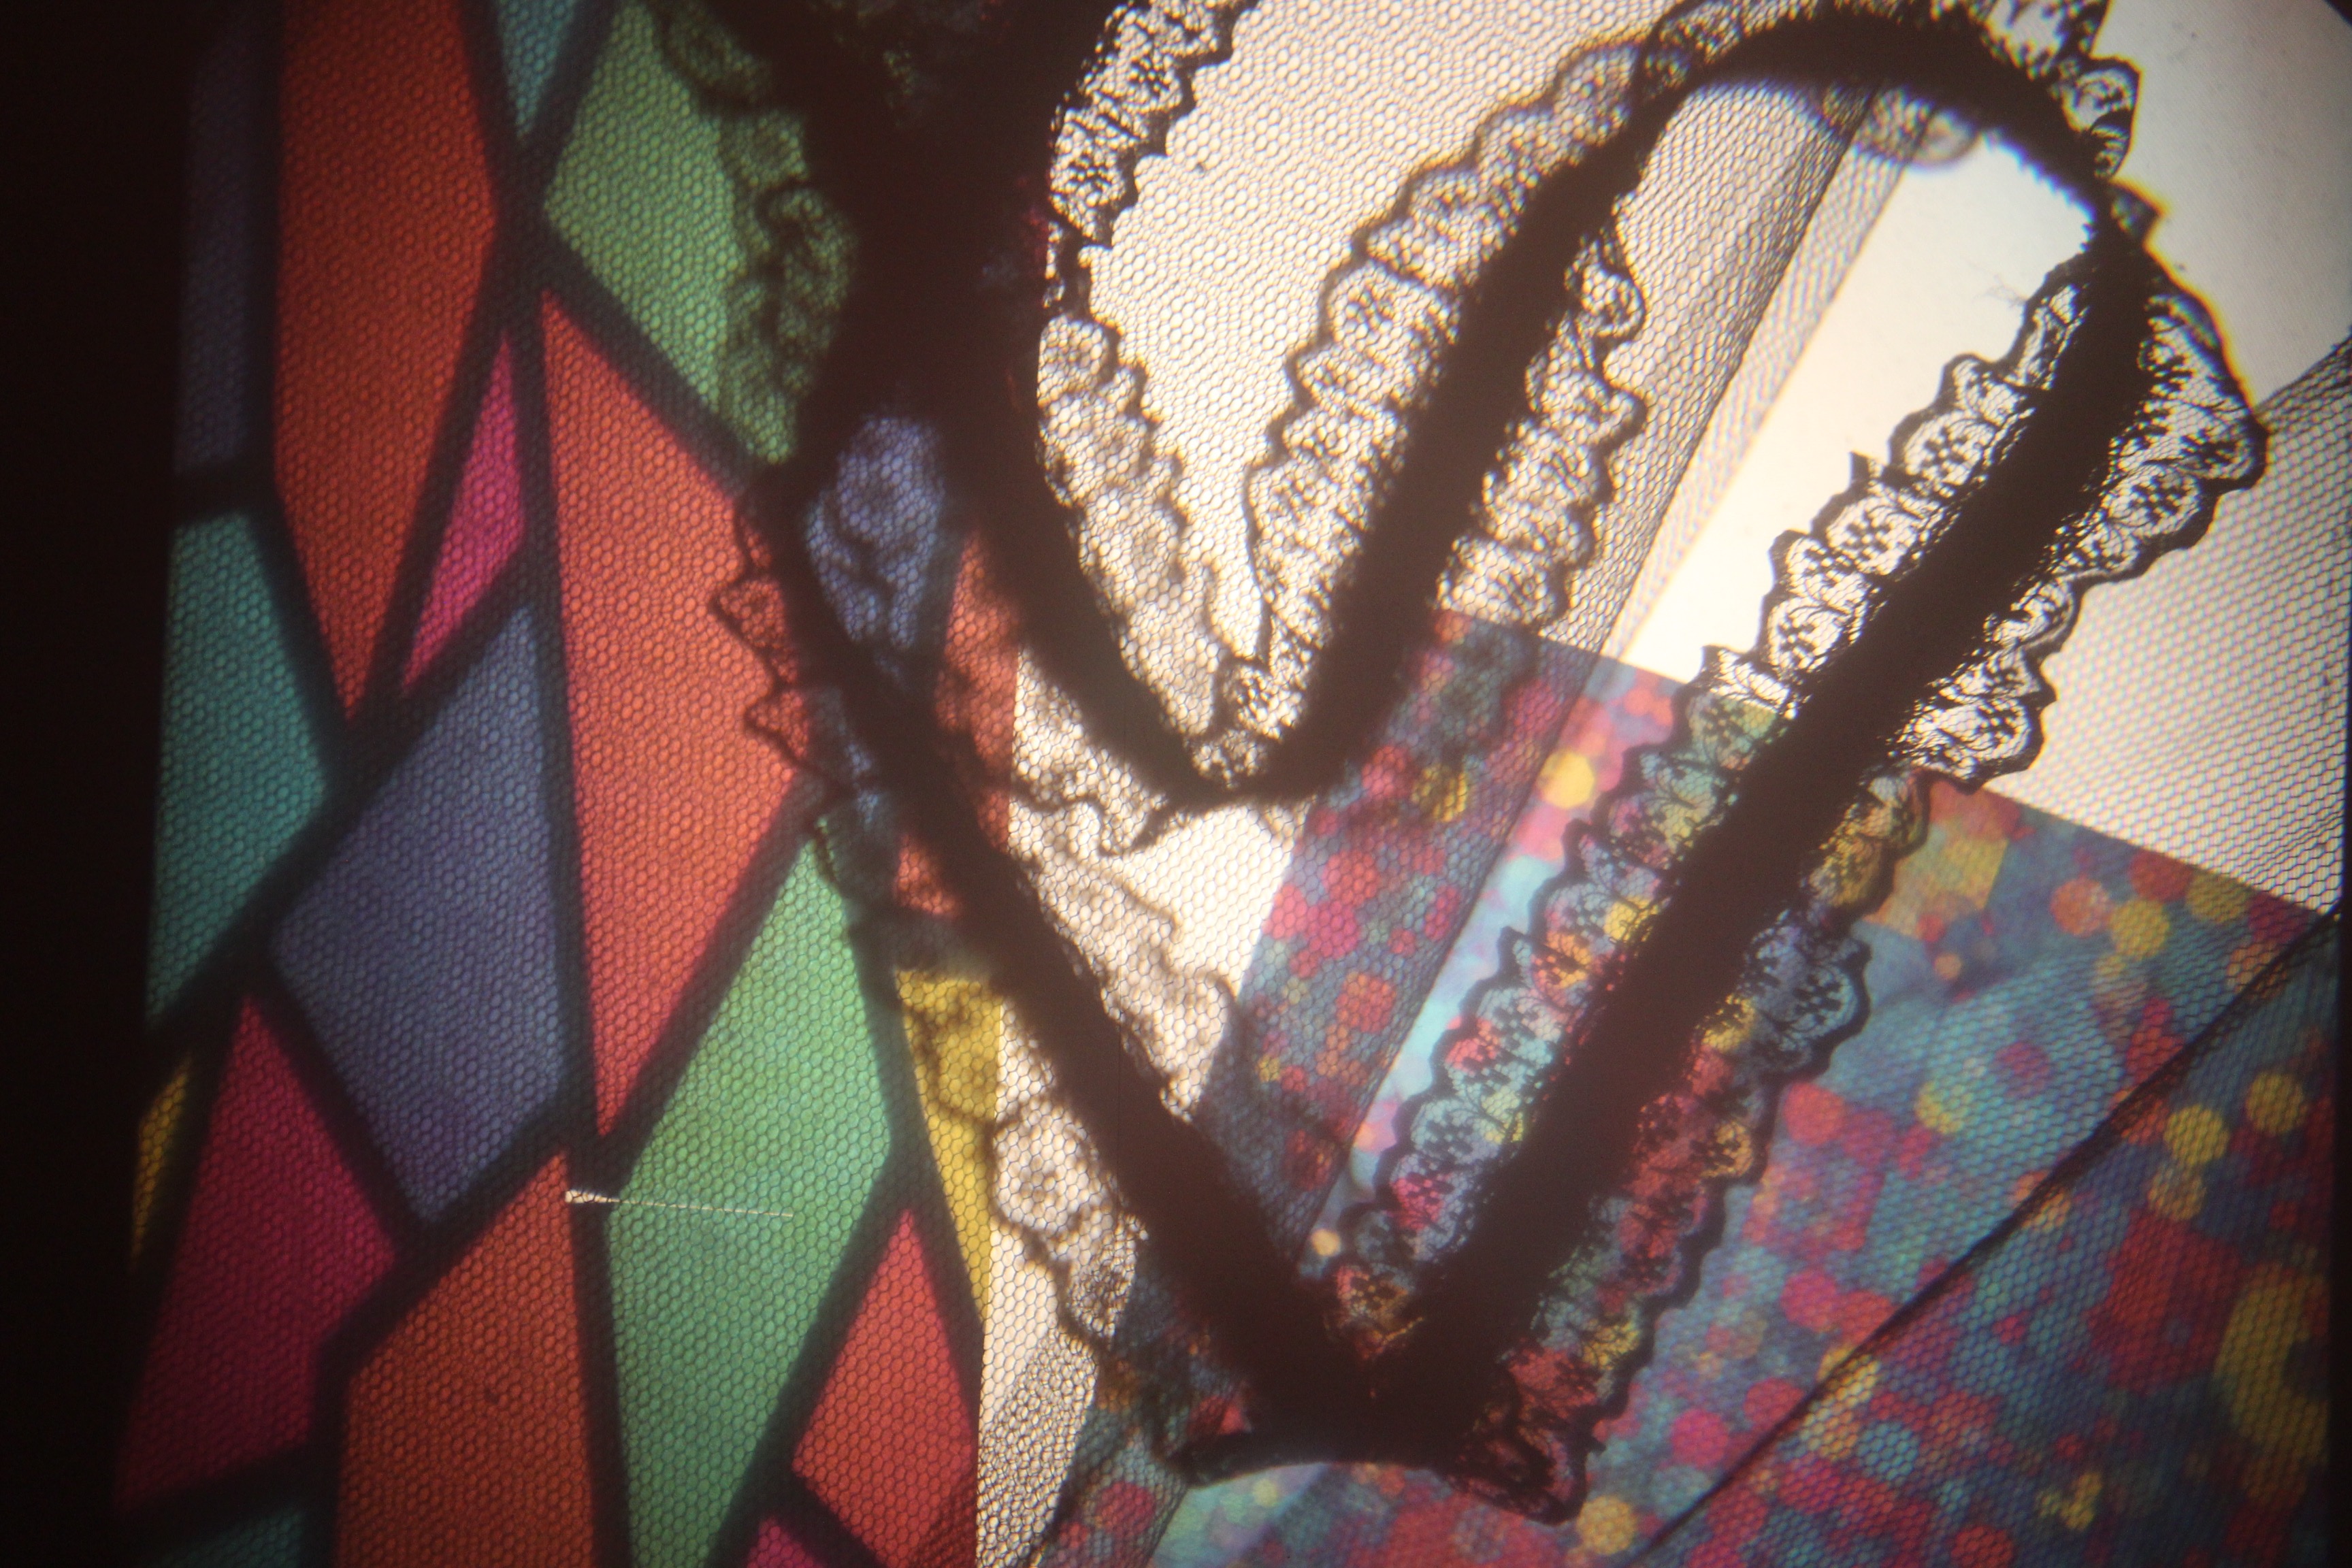
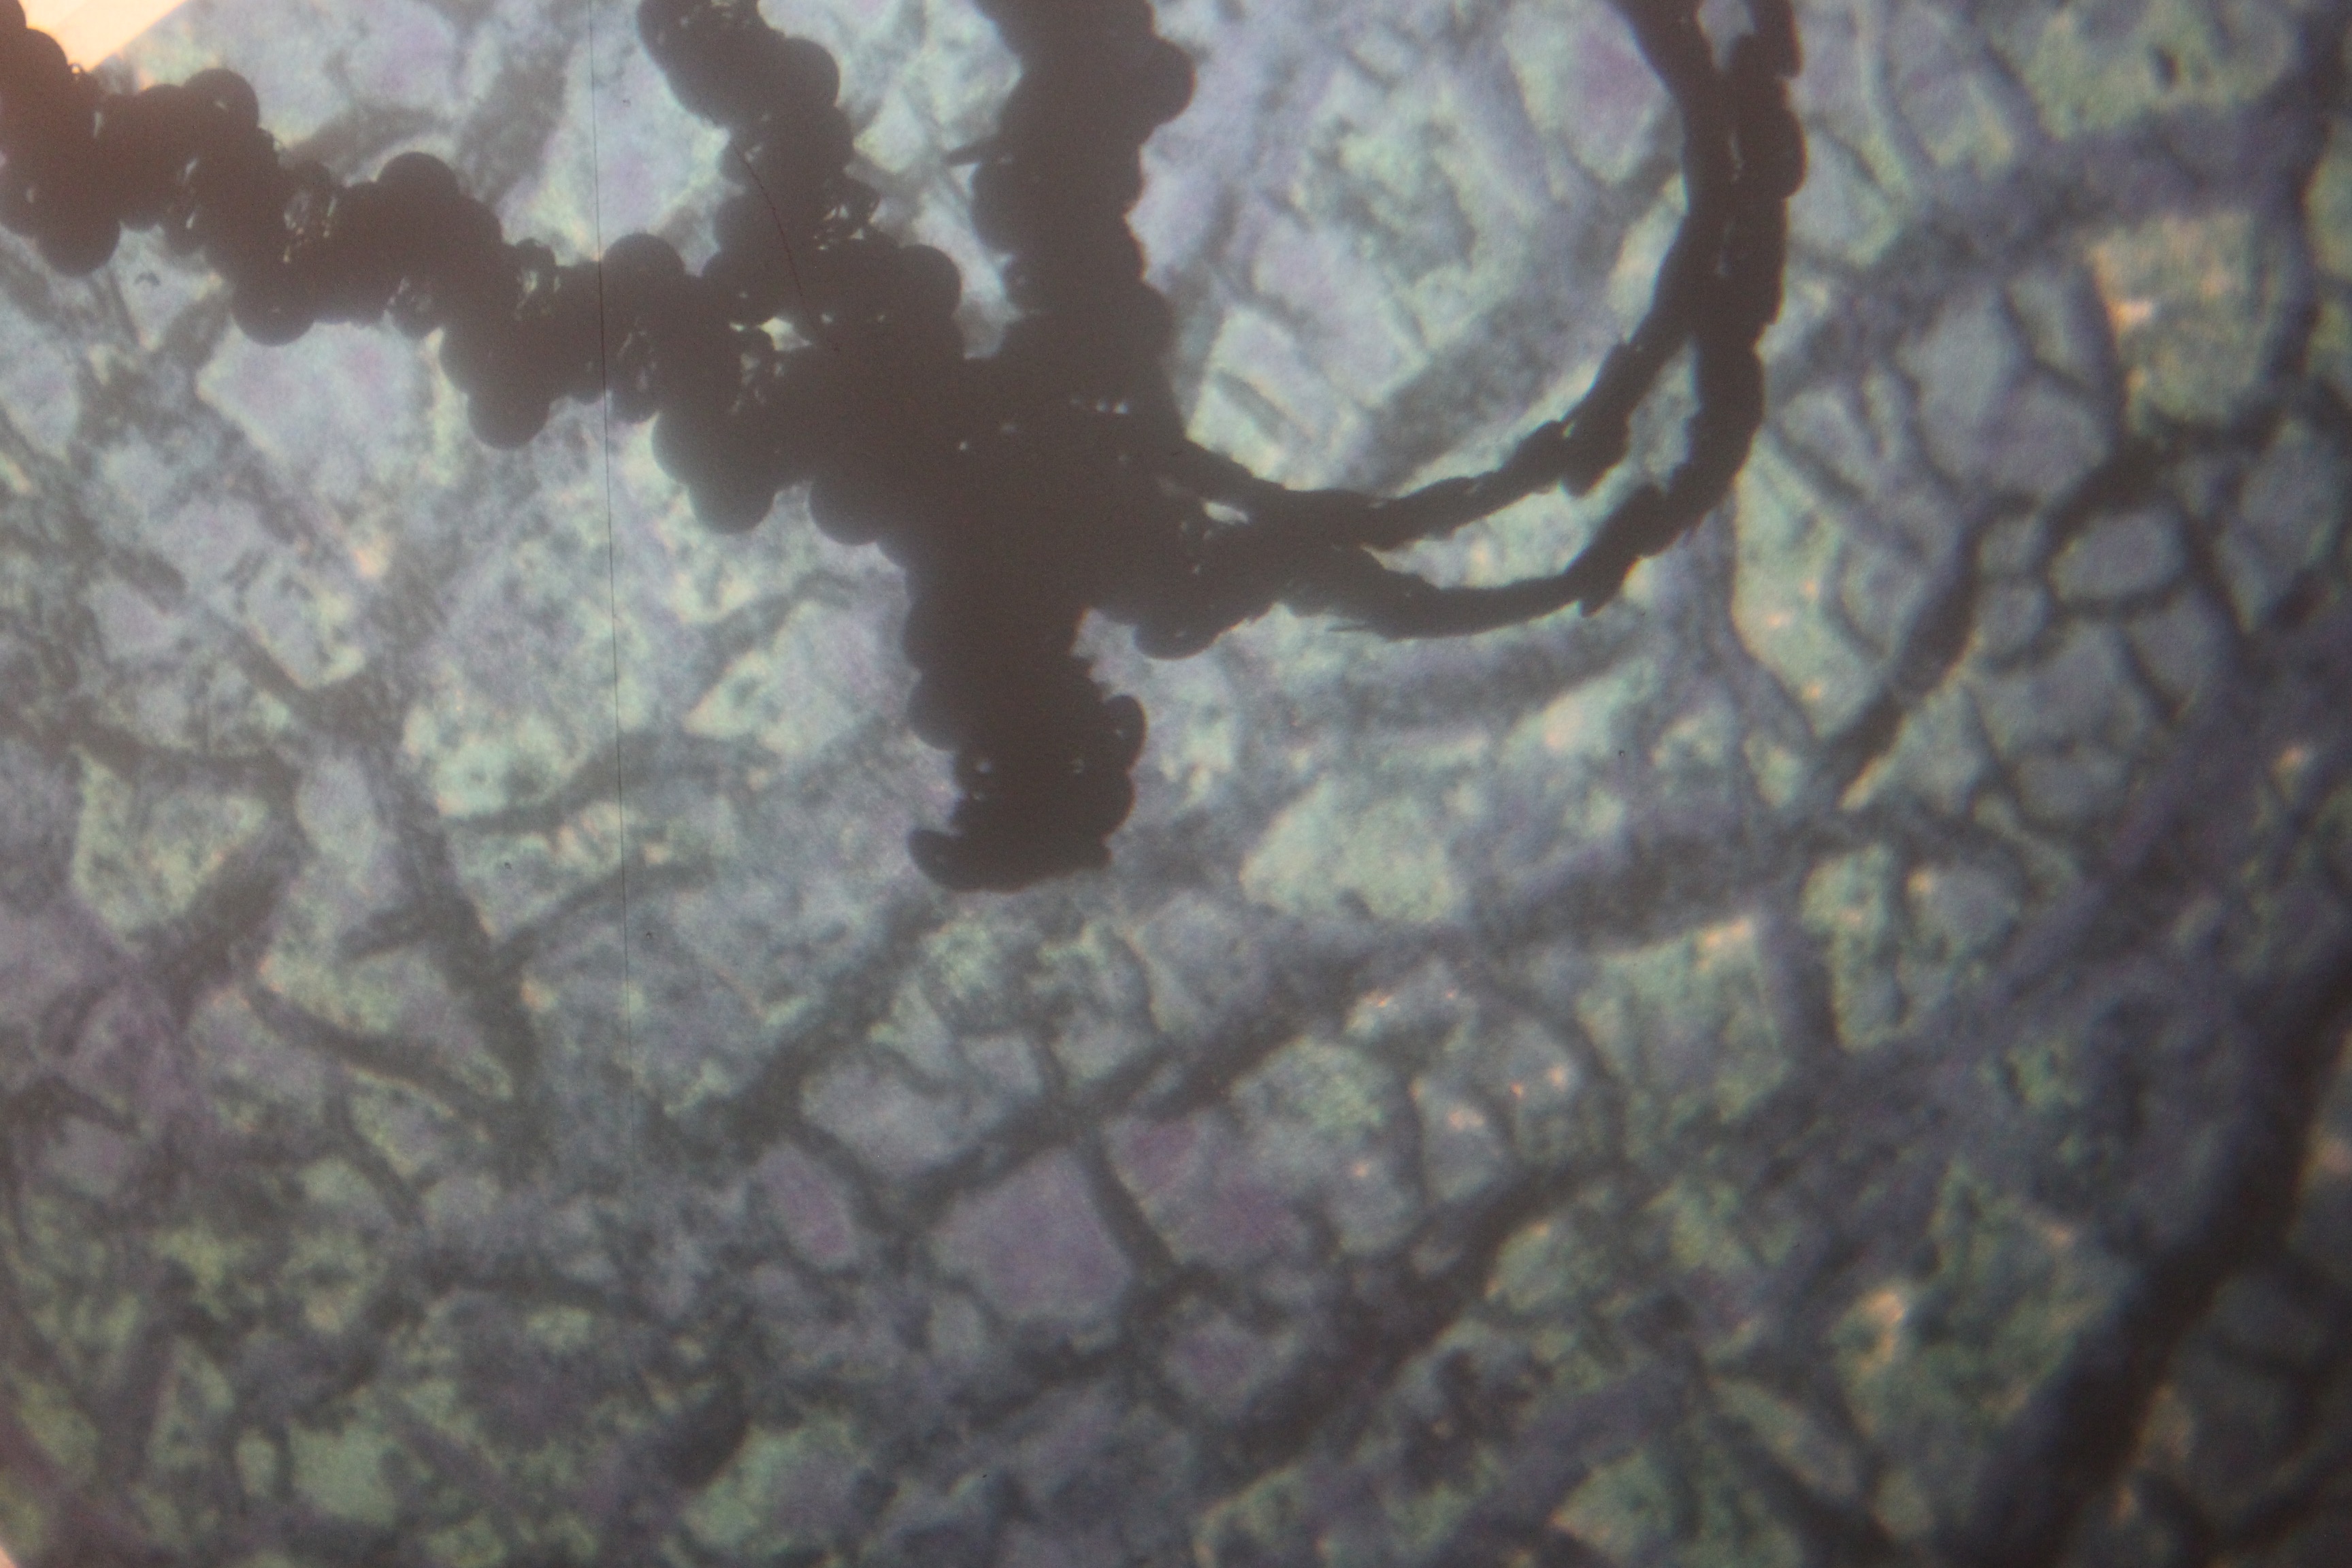
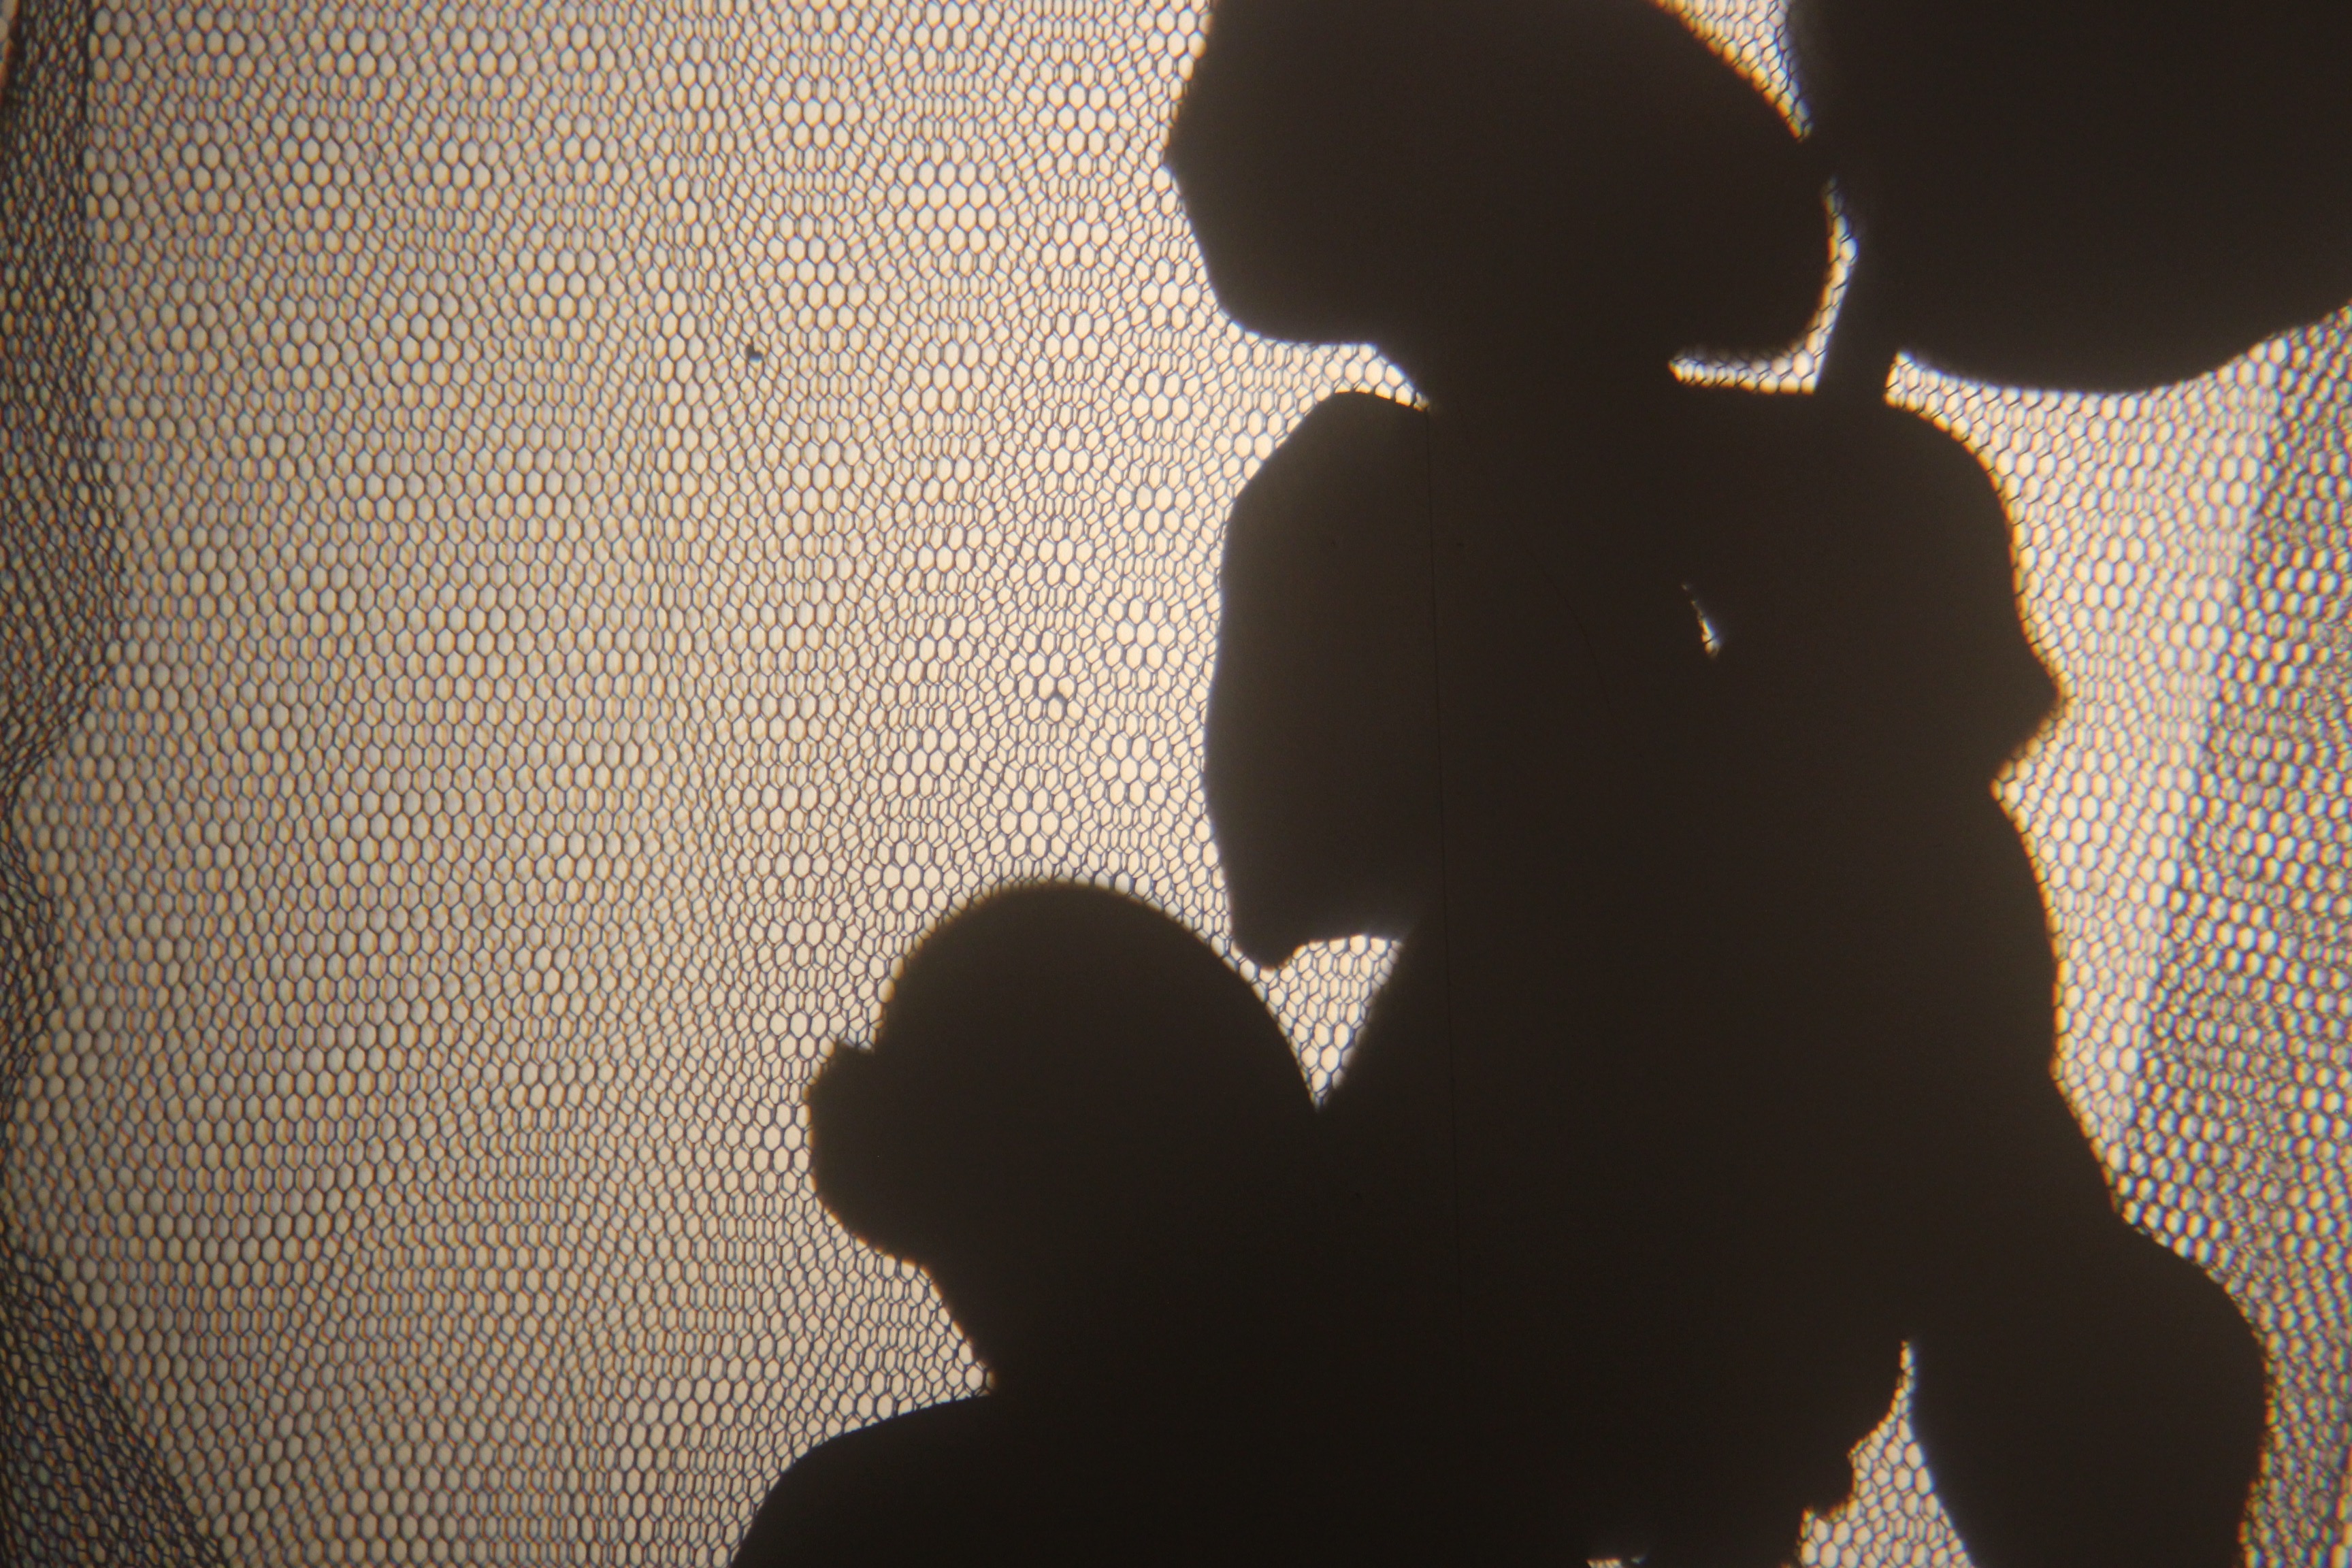
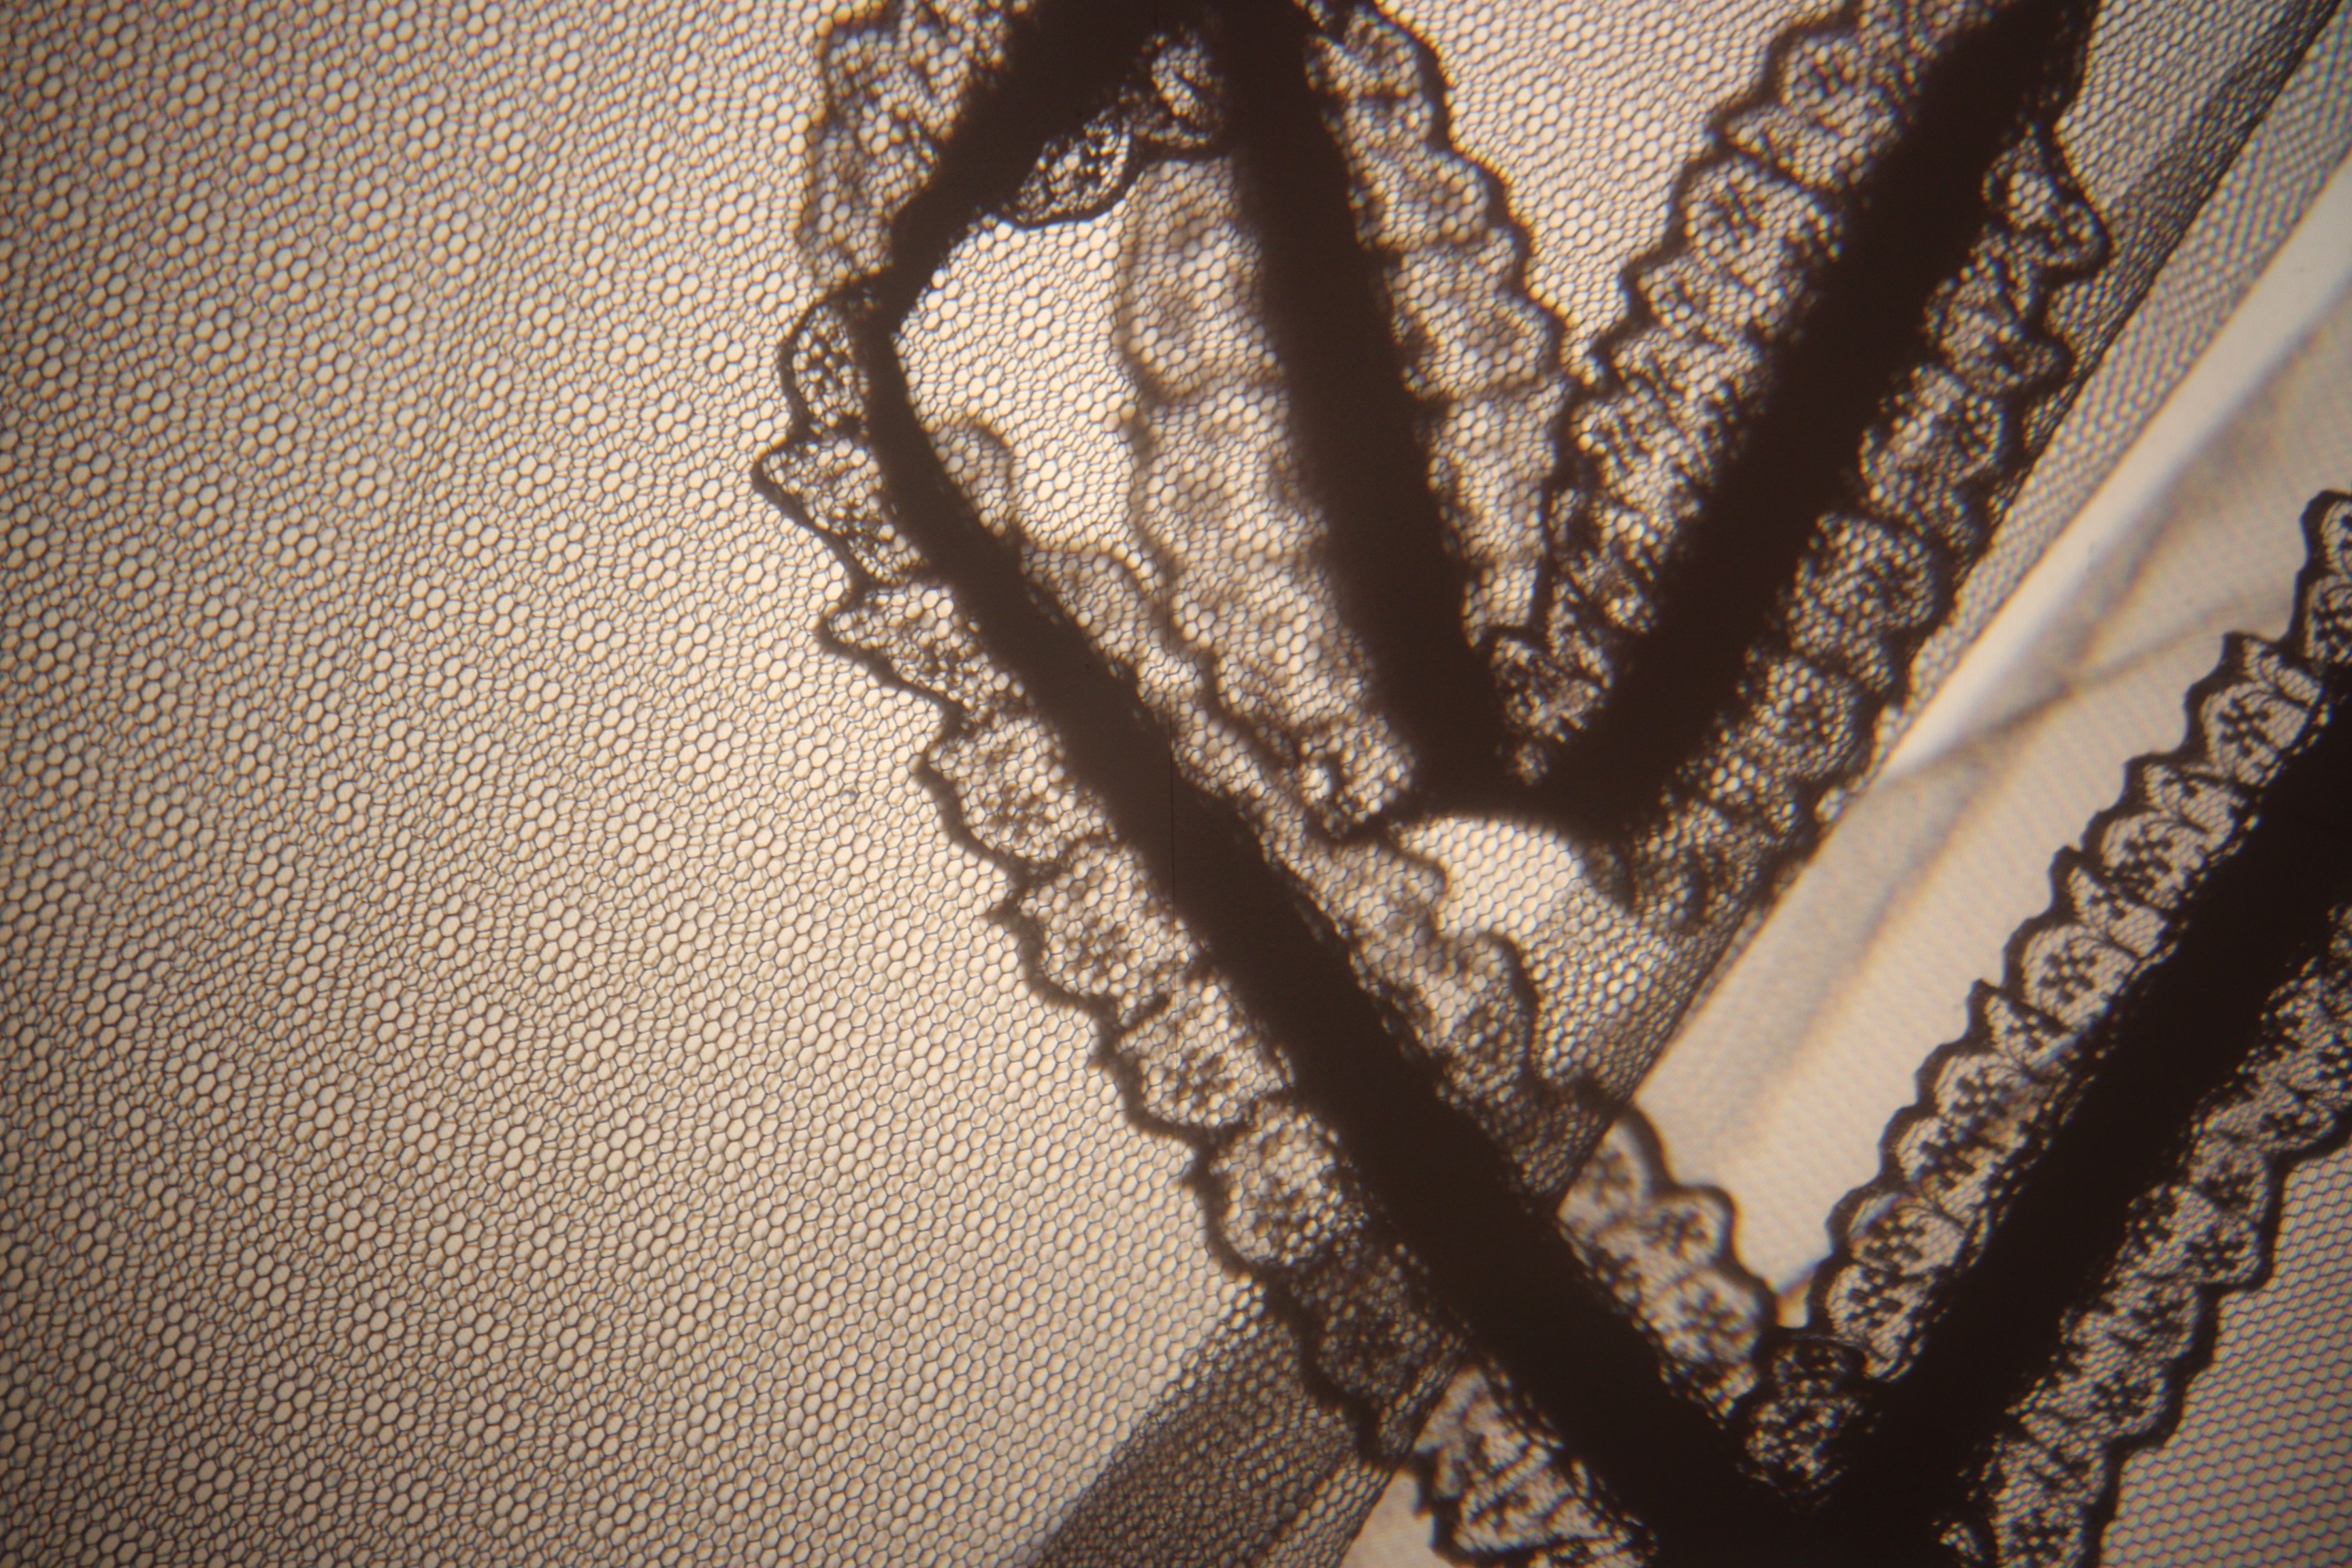
Projector Photography
How to use the projector
By using the light projector onto a blank wall and adding in texture can create a beautiful backdrop for your photography. Place someone in front of the wall and you have an interesting photography. Experiment with different fabrics and images to get your desired effect.

Tilt Photography
Tilt-shift photography is a creative and unique type of photography in which the camera is manipulated so that a life-sized location or subject looks like a miniature-scale model.
To add good miniature effect to your photographs, shoot subjects from a high angle (especially from the air). It creates the illusion of looking down at a miniature model. A camera equipped with a tilt-shift lens, which simulates a shallow depth of field, is essentially all you need to start.
For this class activity you will need to supply your own objects to photograph and create your own set.

A close look at the Tilt Shift lens
Examples of Tilt Shift Photography
TiltShift function on school cameras
• Take the photo (preferably from a high angle looking down)
• Click Menu on camera
• Press the Blue play button with one dot above
• Click on Creative Filters
• Press Set
• Move across to Miniature Effect
• Move the TiltShift function

Double Exposed Photography
In photography and cinematography, a multiple exposure is the superimposition of two or more exposures to create a single image, and double exposure has a corresponding meaning in respect of two images.
This photography technique has been used effectively and easily by past students to create a fantastic final production.
TASK 1
Open photoshop / Open one photo / Drag another image and place on top of the other photo open in Photoshop (this should create a second layer in your menu bar) / Click on the layer / Click on Normal arrow-drop-down menu / Colour Burn / Click on the Opacity % and manipulate until you are happy with end result. Then save your new image as a JPEG.
TASK 2
For this class task you will be required to watch the tutorial, open photoshop, find two images and have a go at creating your own Double Exposed Photography.
Creating a storyboard by filter cheating
Some of us can not draw. When it comes to storyboarding, it is often the one thing that everyone dreads. Here is a quick cheat filter idea using Photoshop:
Step 1: Open Photoshop
Step 2: Import or Drag your image in
Step 3: Press Adjustments – Black & White – Apply
Step 4: Press Filter – Filter Gallery


Photoshop Filter Gallery Examples